Configure Microsoft Outlook for Mac
Step 1
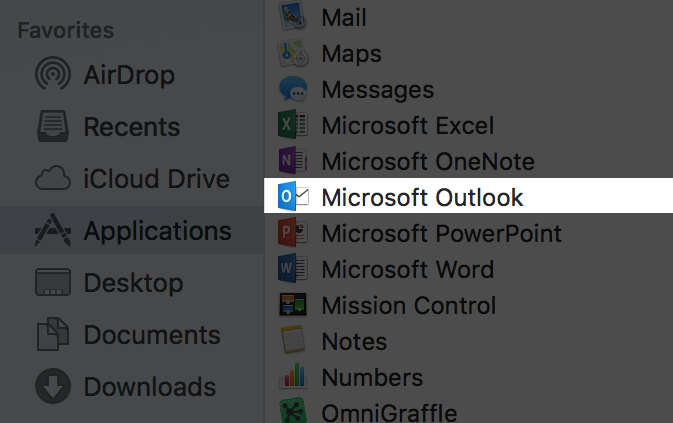
- Open the Microsoft Outlook program on your computer.
- You can do this by navigating to your Applications folder within Finder, and clicking on the application name, Microsoft Outlook.
- Tip: You can add the Microsoft Outlook icon to your Dock in macOS for quick access in the future.
Click here to learn how to add items to your Dock.
Step 2
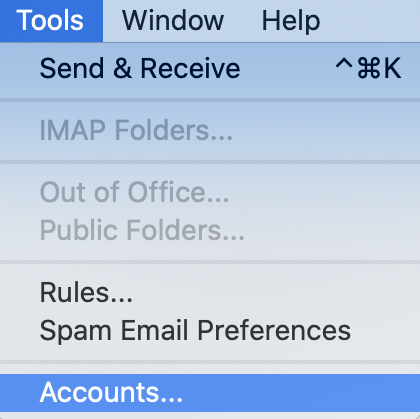
- In the menu selector at the top of your screen, click on "Tools".
- Once you have clicked on "Tools", select "Accounts" in the drop-down menu.
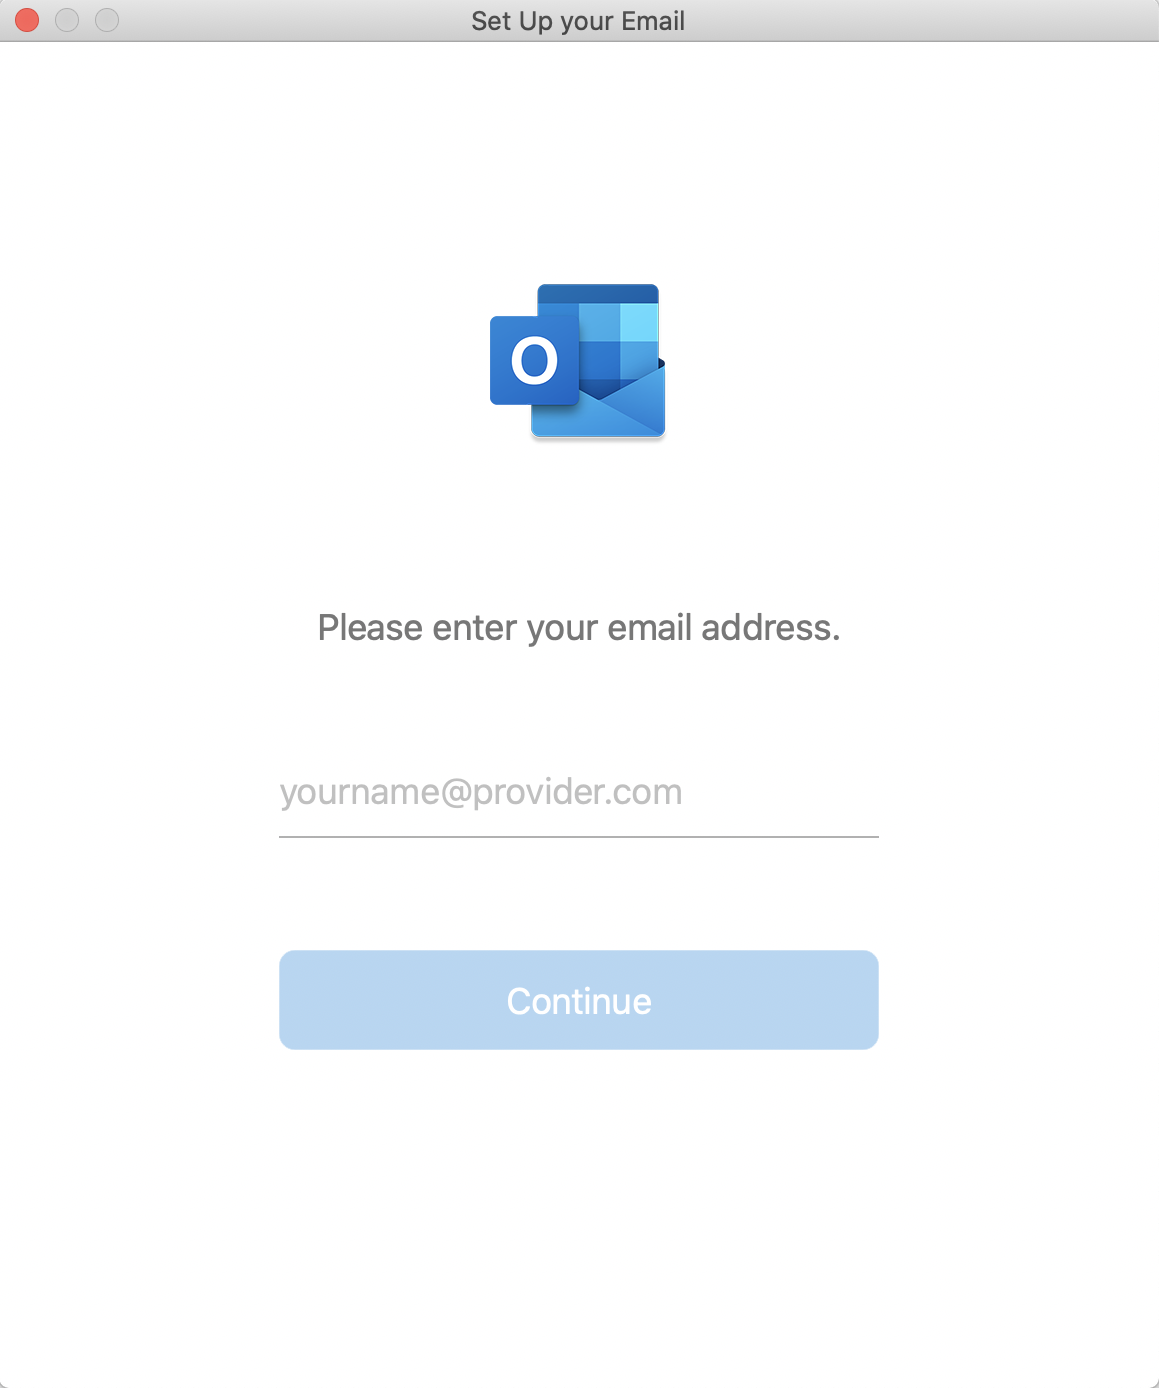
- In the next section, enter your email address in the input field, then click "Continue".
Step 3
- In the next section, select IMAP from the top drop-down menu.
- Enter your email address, username and password into the input fields.
Then enter the following details in the corresponding input fields:
Incoming:
Server Name: demo.atmail.com
Port: 993
Outgoing:
Server Name: demo.atmail.com
Port: 465
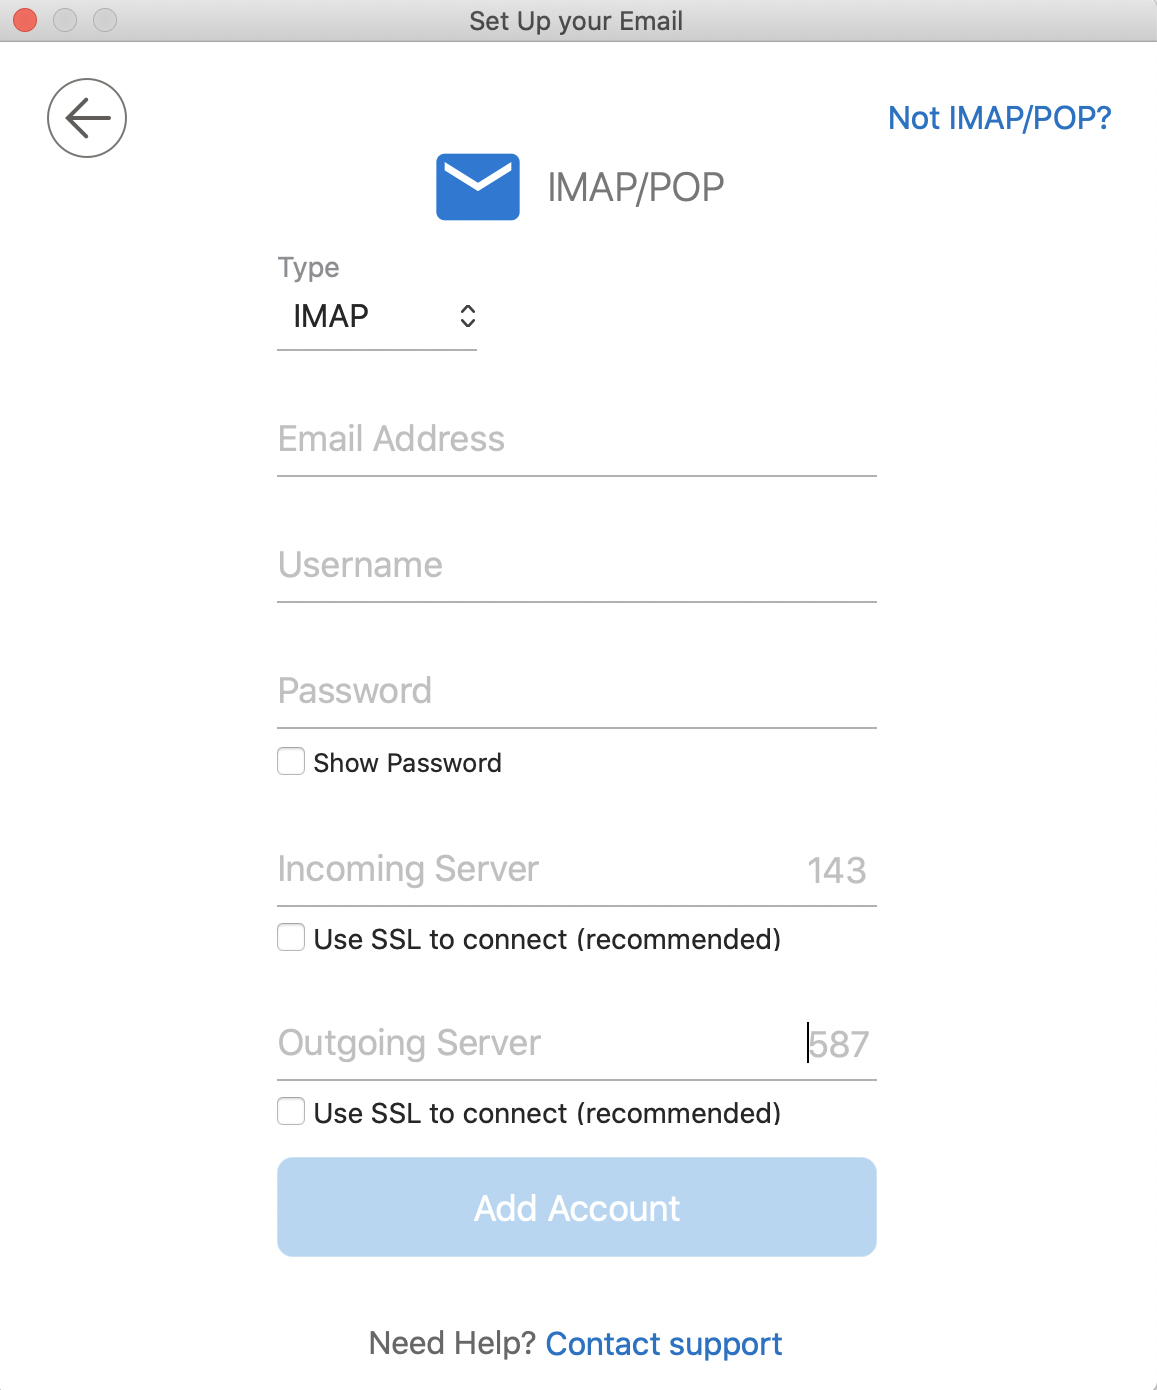
- When you have filled out this information, click "Add Account".
- Then in the next section, click "Done".
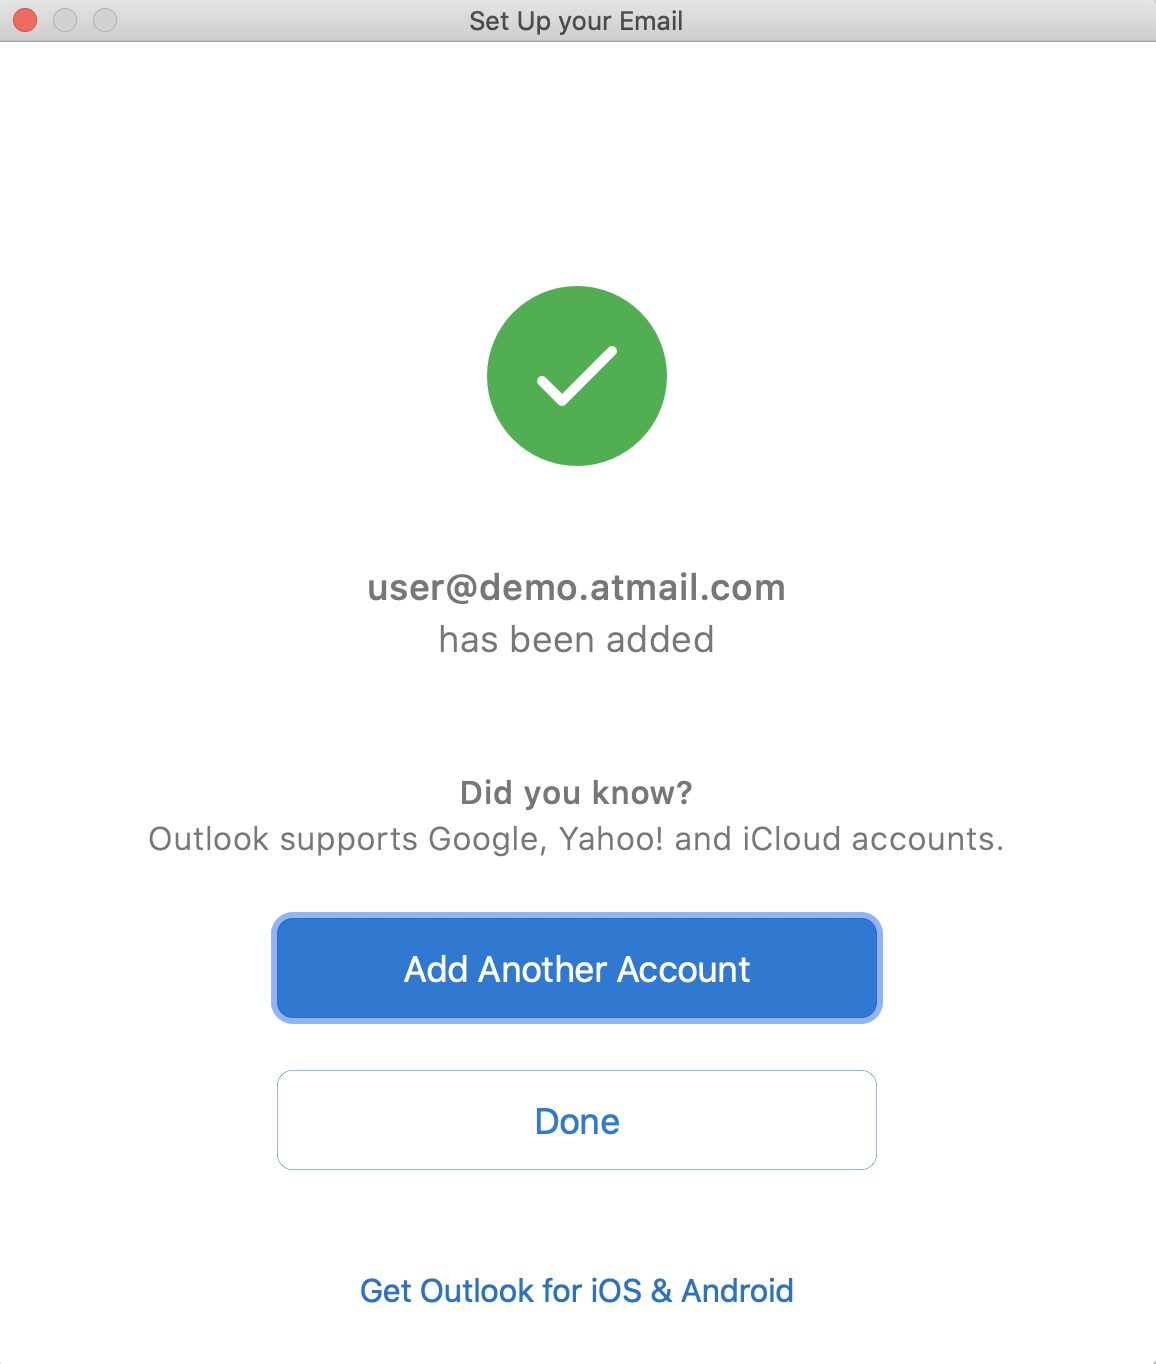
- You can now send and receive email using Microsoft Outlook for Mac.
- Please note that you can still log in and use webmail to send and receive email from your browser, if/when you choose to.