Configure Mac Mail
Step 1
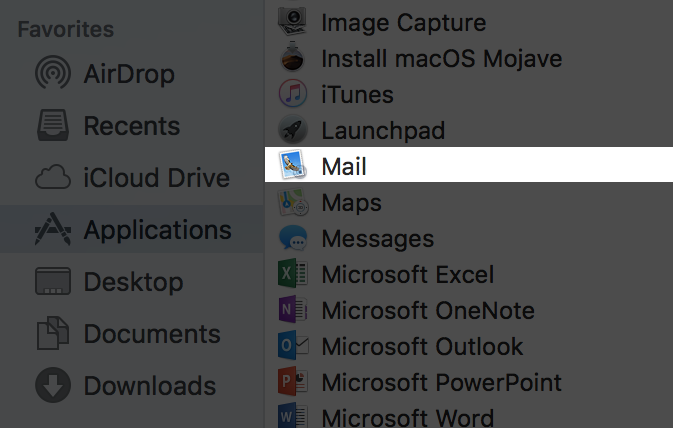
- Open the "Mail" application on your computer.
- You can do this by navigating to your Applications folder within Finder, and clicking on the application name, Mail.
- Tip: By default, the Mail app will also be in your Dock. You can click on the Mail app icon in the Dock for quicker access.
Click here to learn how to add items to your Dock.
Step 2
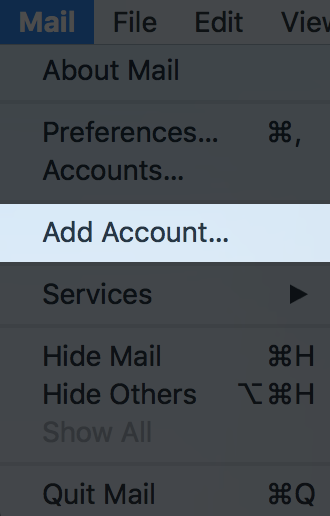
- Select "Mail" at the top of your screen.
- When the drop down appears, click "Add Account".
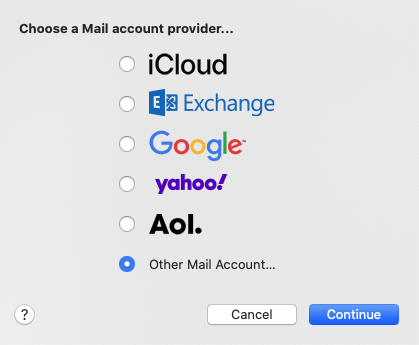
- A new window will open titled "Choose a Mail account provider".
- Select the option "Other mail account".
Step 3
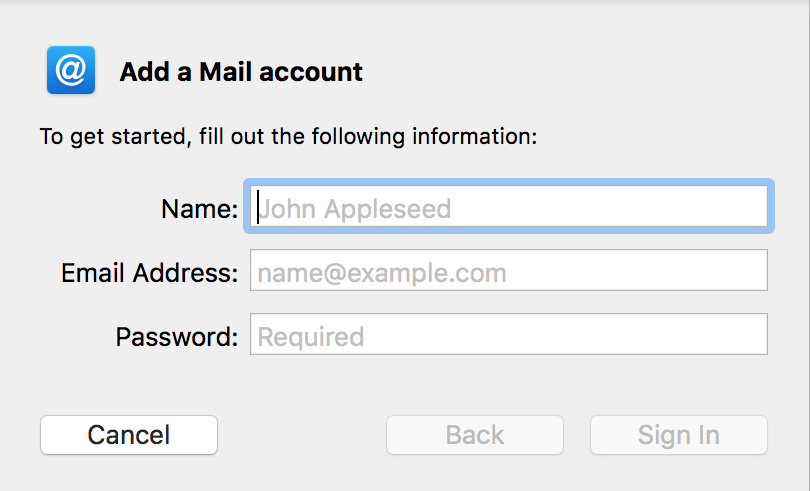
- Enter your name, email address and password.
- Make sure that you enter the same details that you would use to log into your webmail service normally.
- When you have entered your details, click "Sign in".
- Mac Mail will try to automatically configure your account.
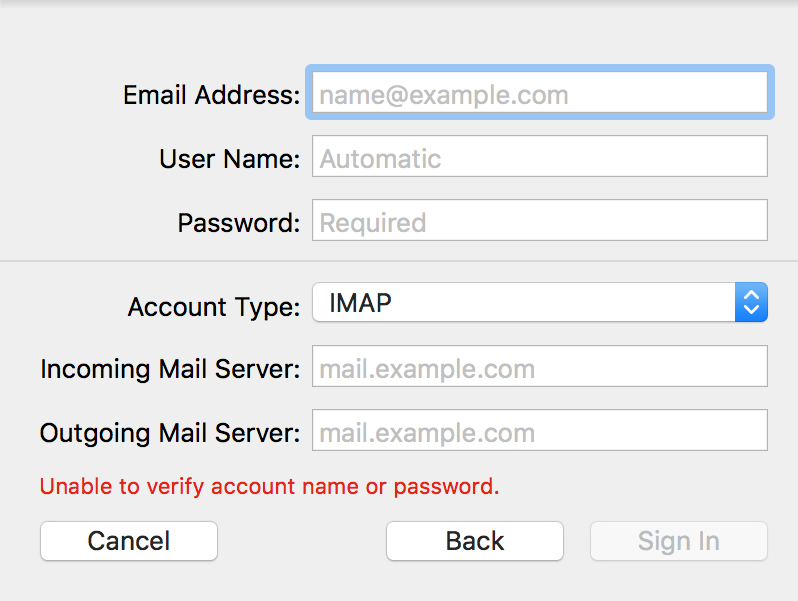
Occasionally, the Mail app will not be able to successfully configure your account automatically.
If this occurs, the Mail app will load a new window for you to manually enter the following server information:
Account Type: IMAP
Incoming Mail Server: demo.atmail.com
Outgoing Mail Server: demo.atmail.com
Step 4
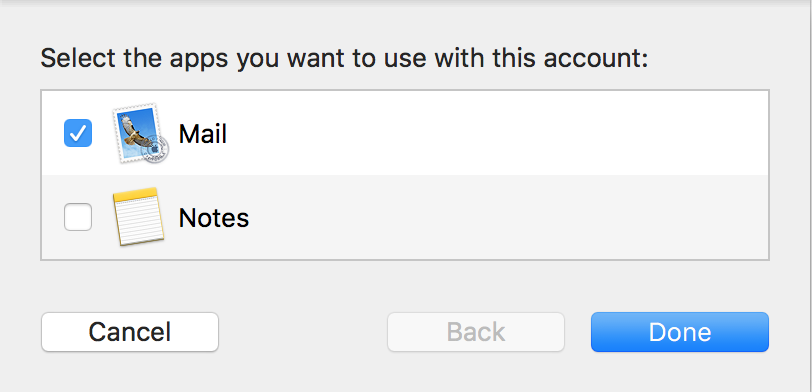
- The Mail app will now ask you which apps you wish to use with this account.
- Ensure "Mail" is selected.
- Then click "Done".
- You can now send and receive email using Apple Mail.
- Please note that you can still log in and use webmail to send and receive email from your browser, if/when you choose to.
