Configure Calendar on iOS
Step 1
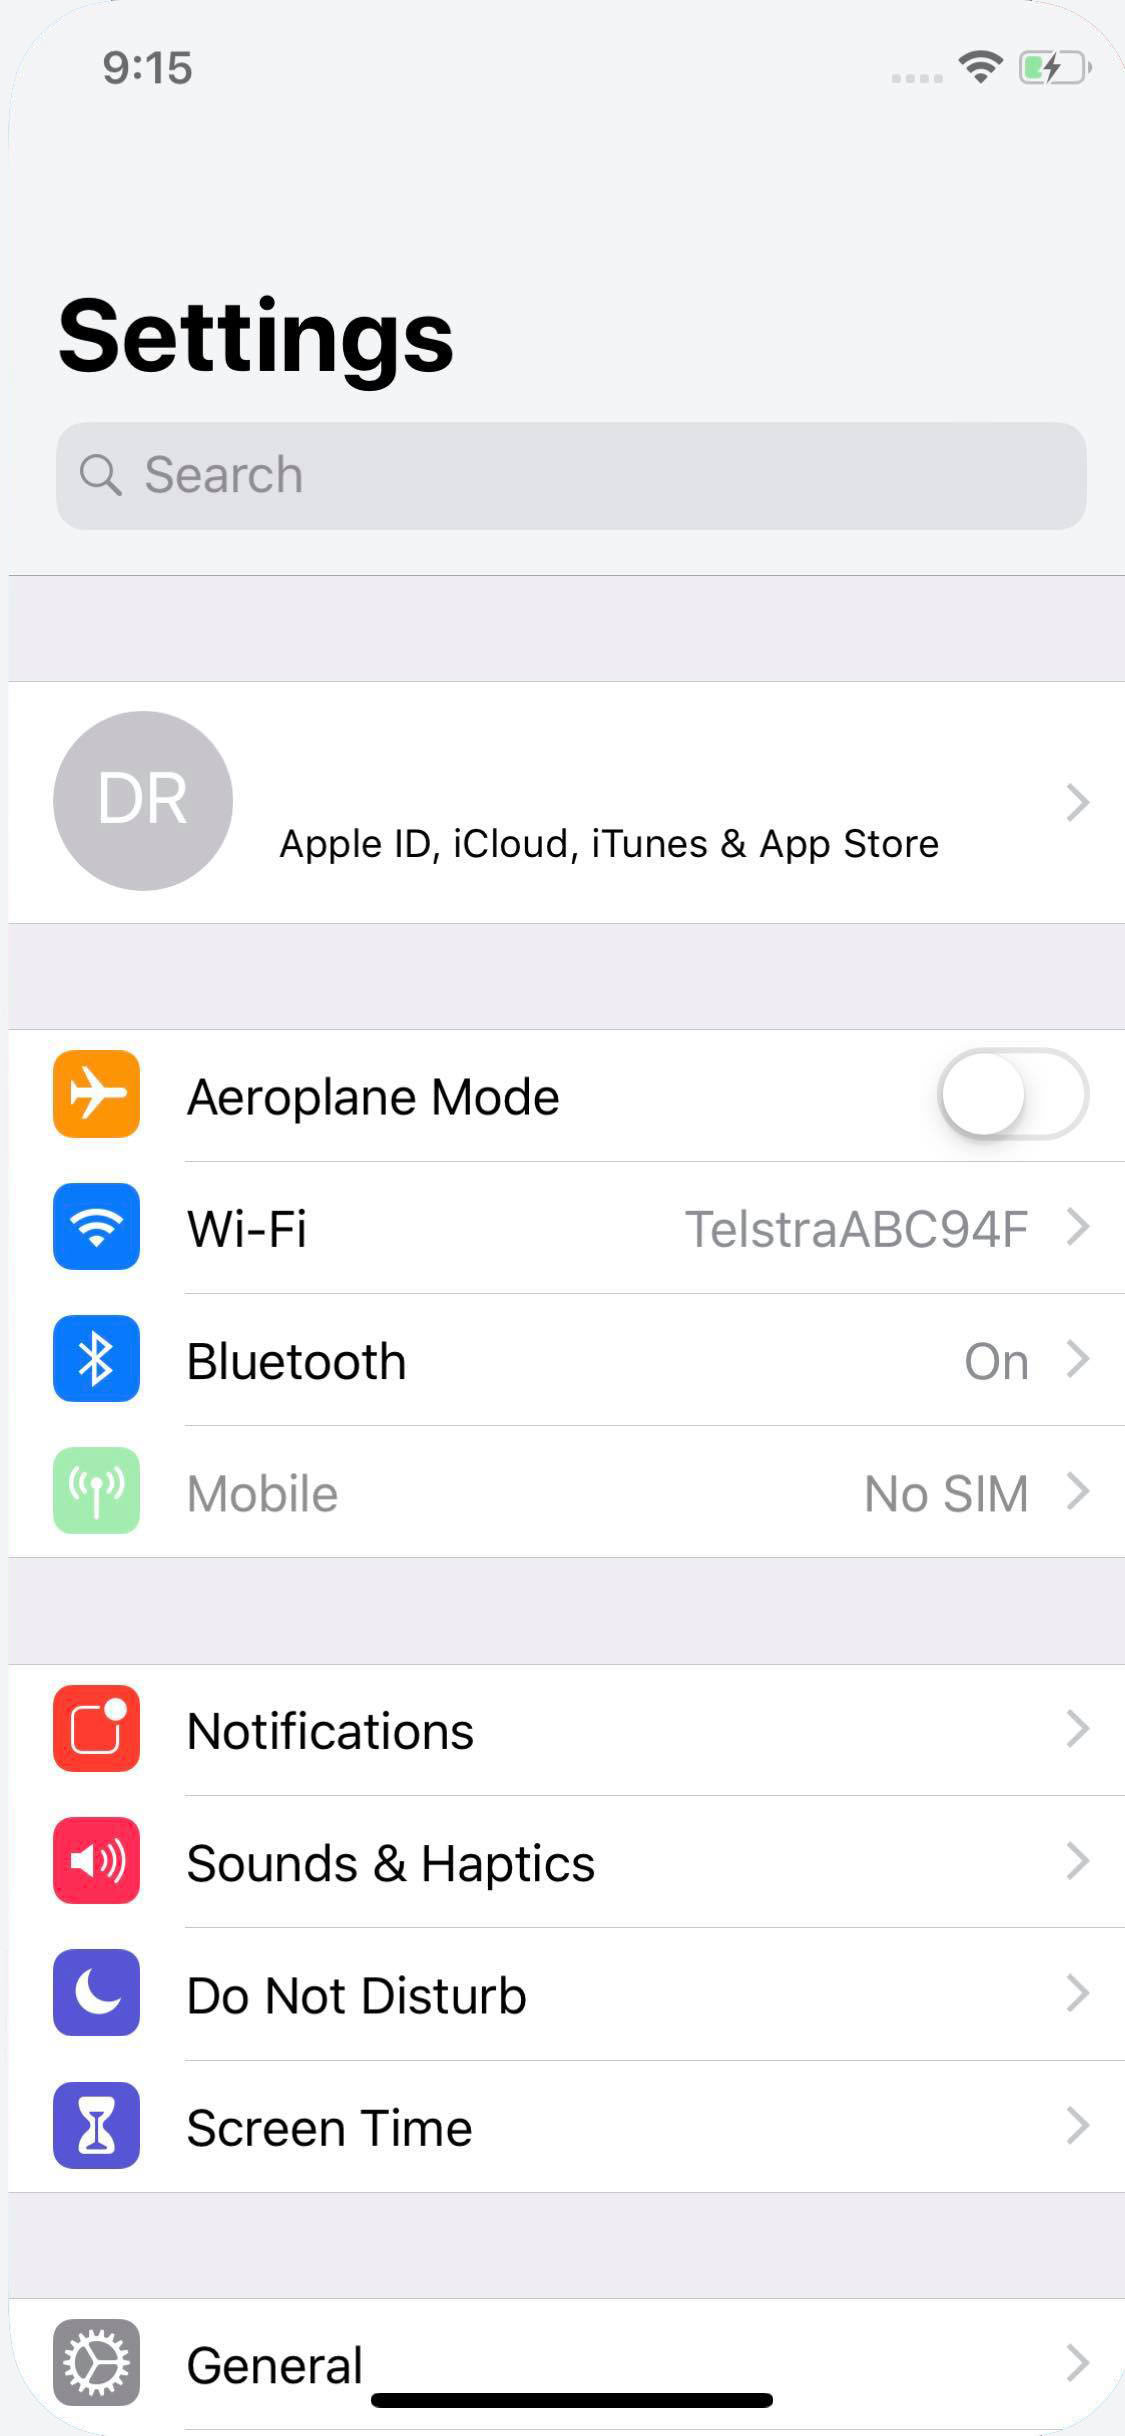
- Open "Settings" in your iOS device.
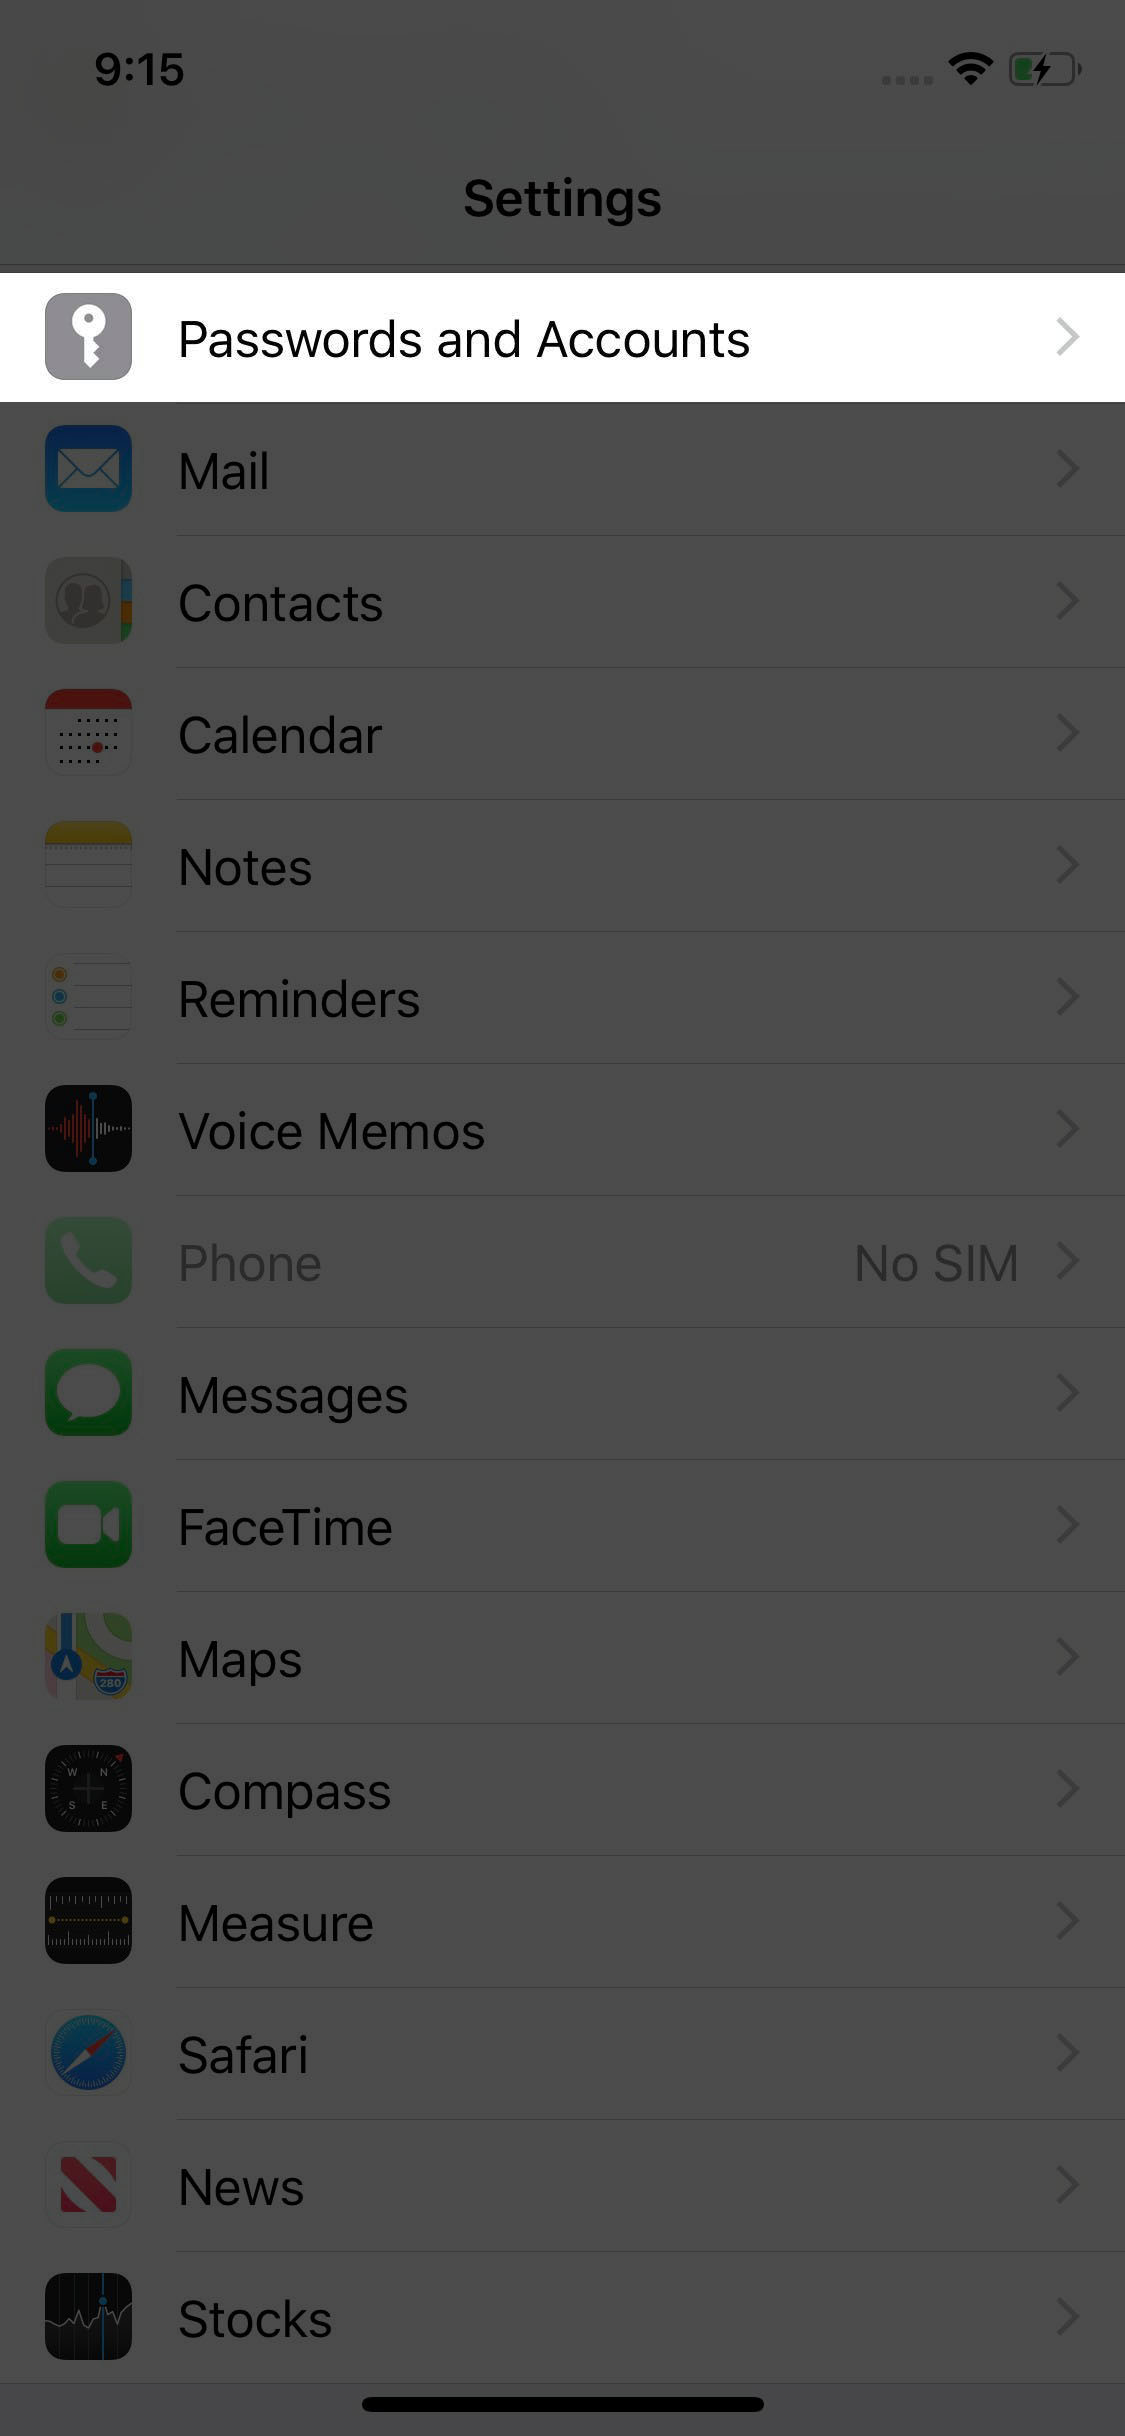
- Scroll down until you find a section titled "Passwords and Accounts", and open it.
Step 2
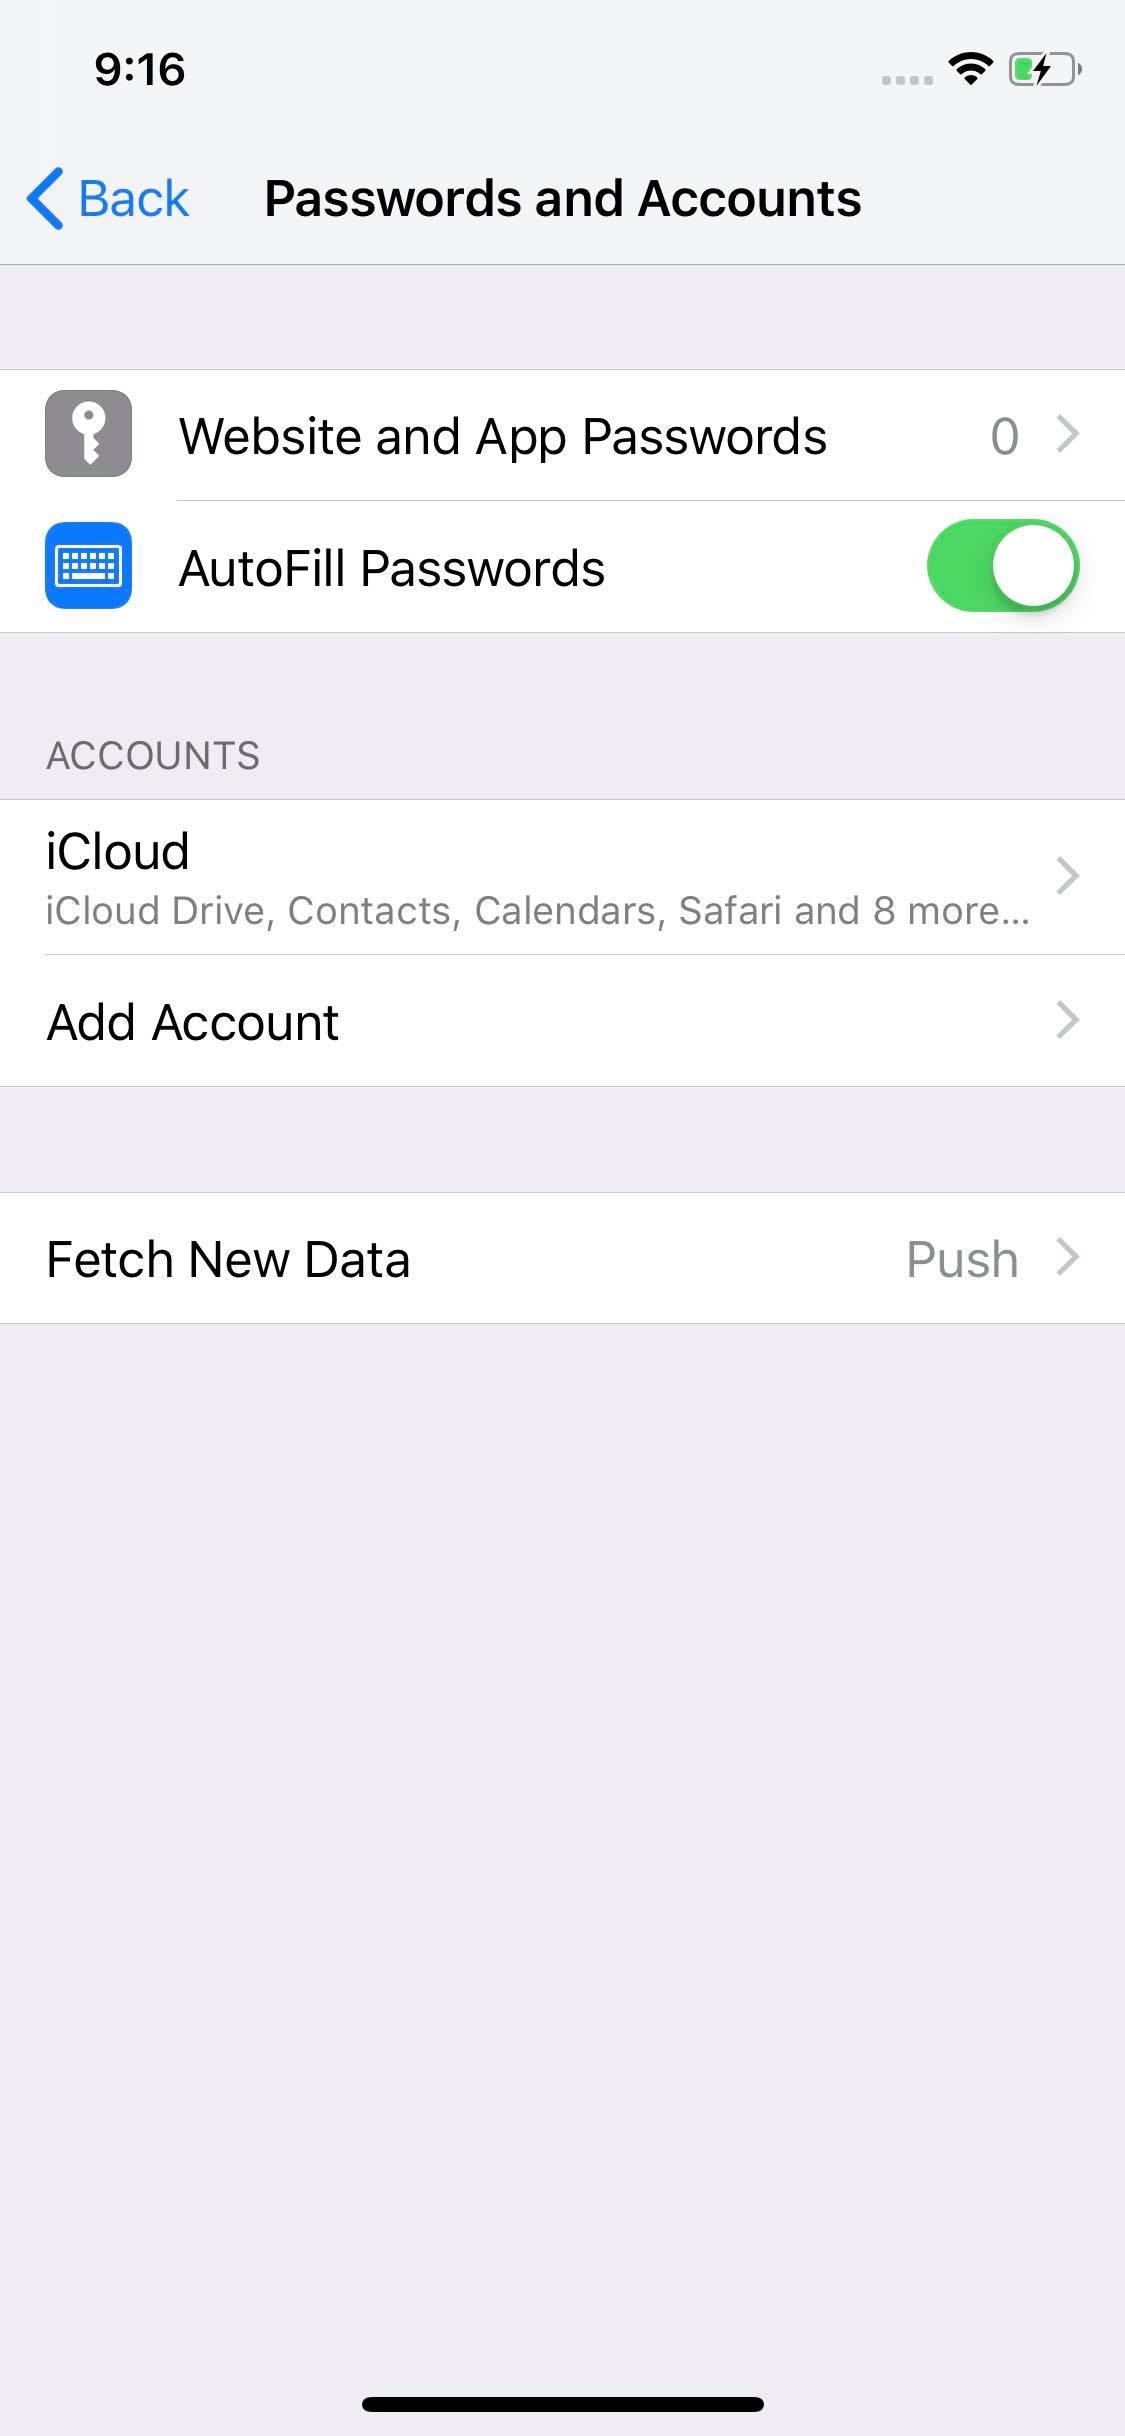
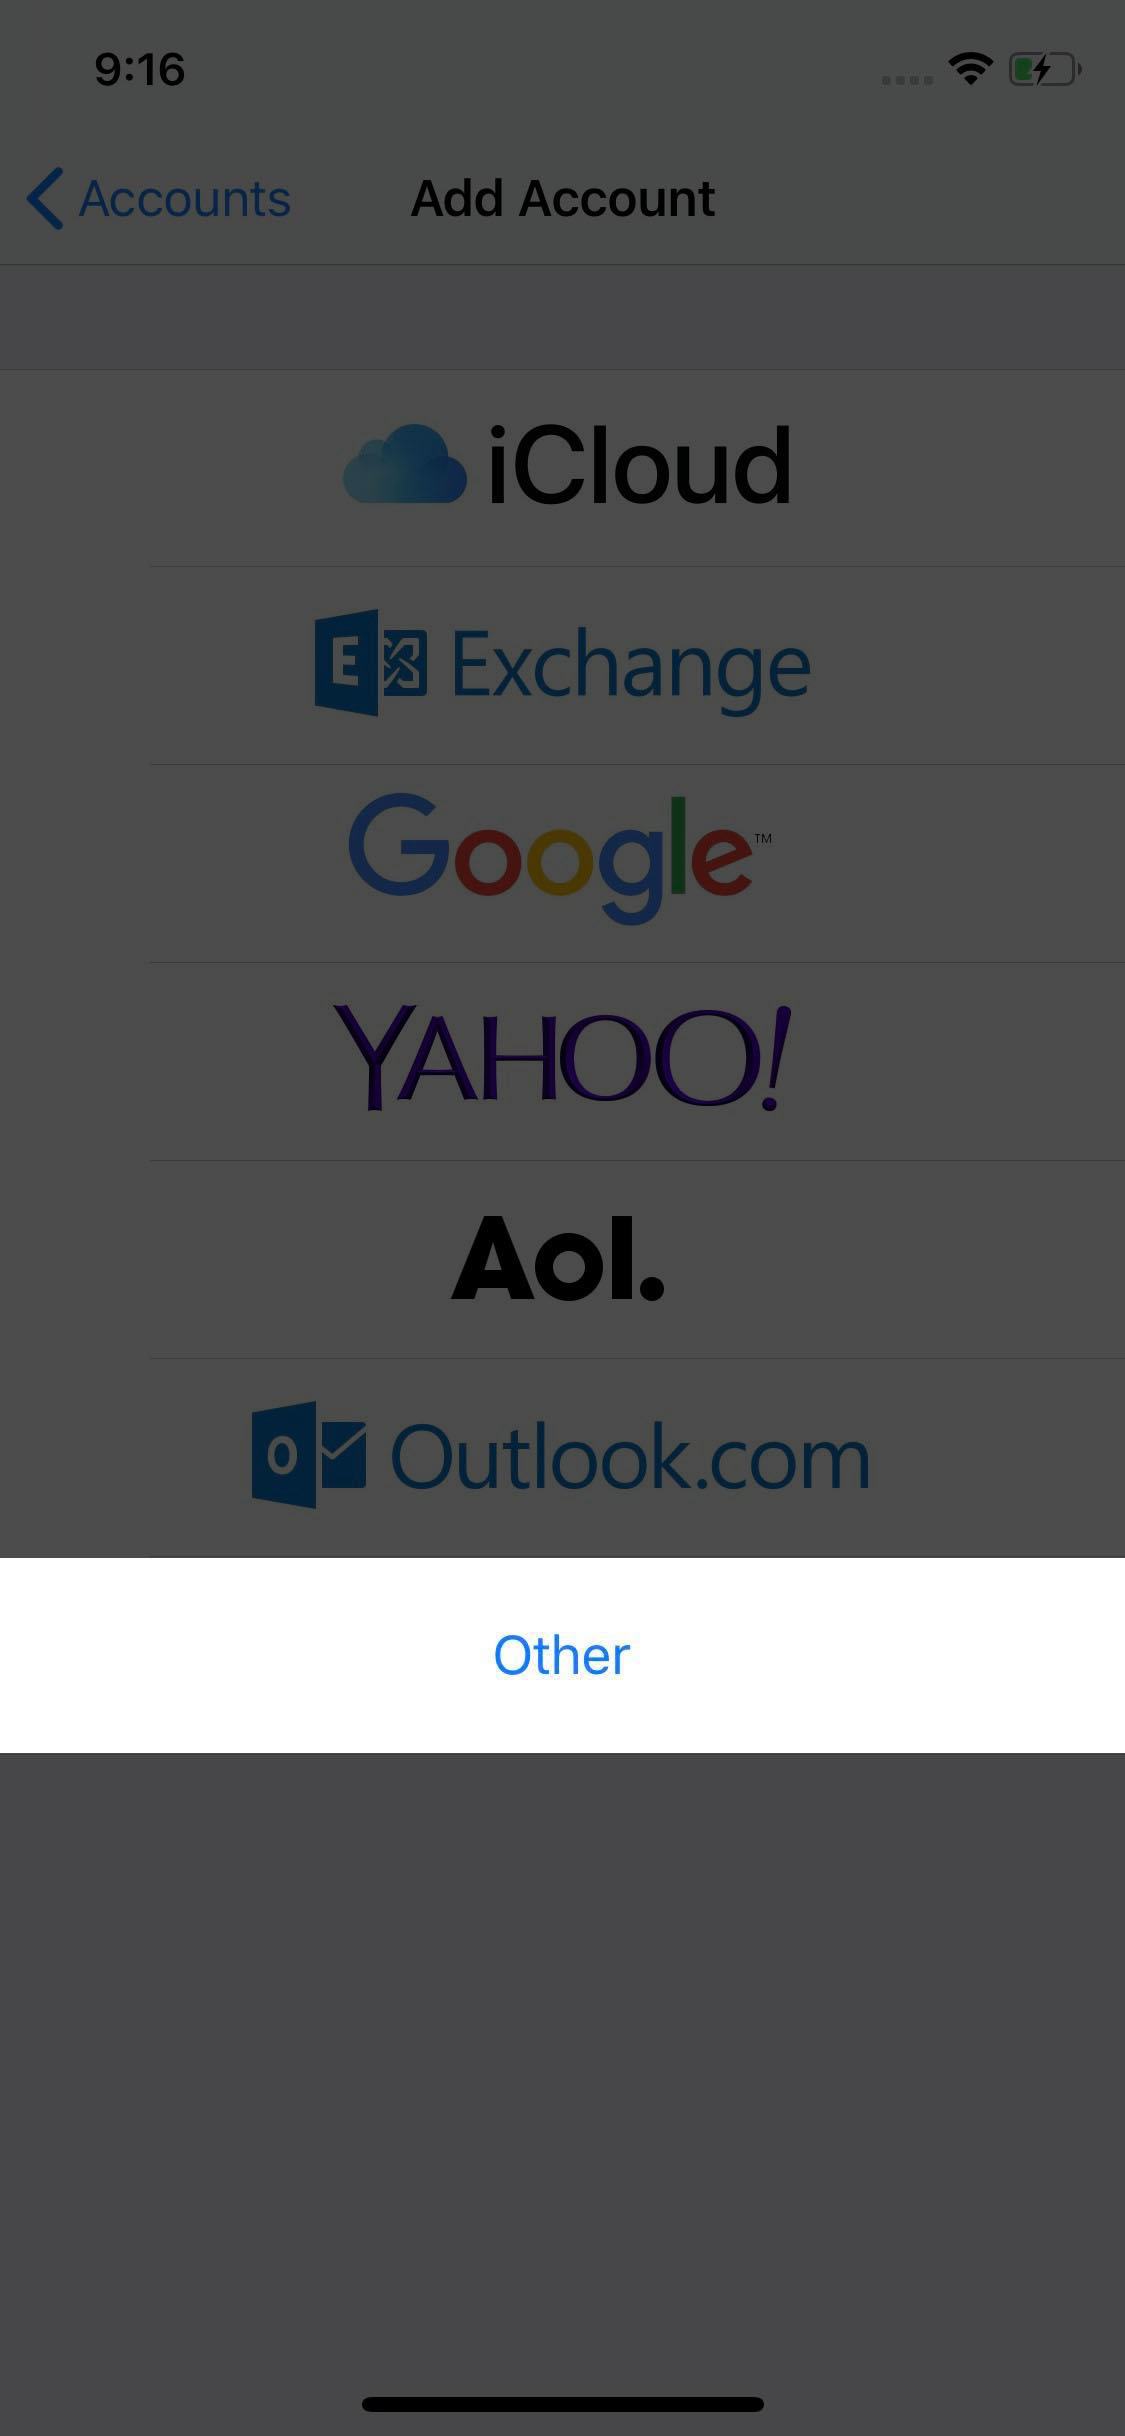
- Click the "Add Account" section.
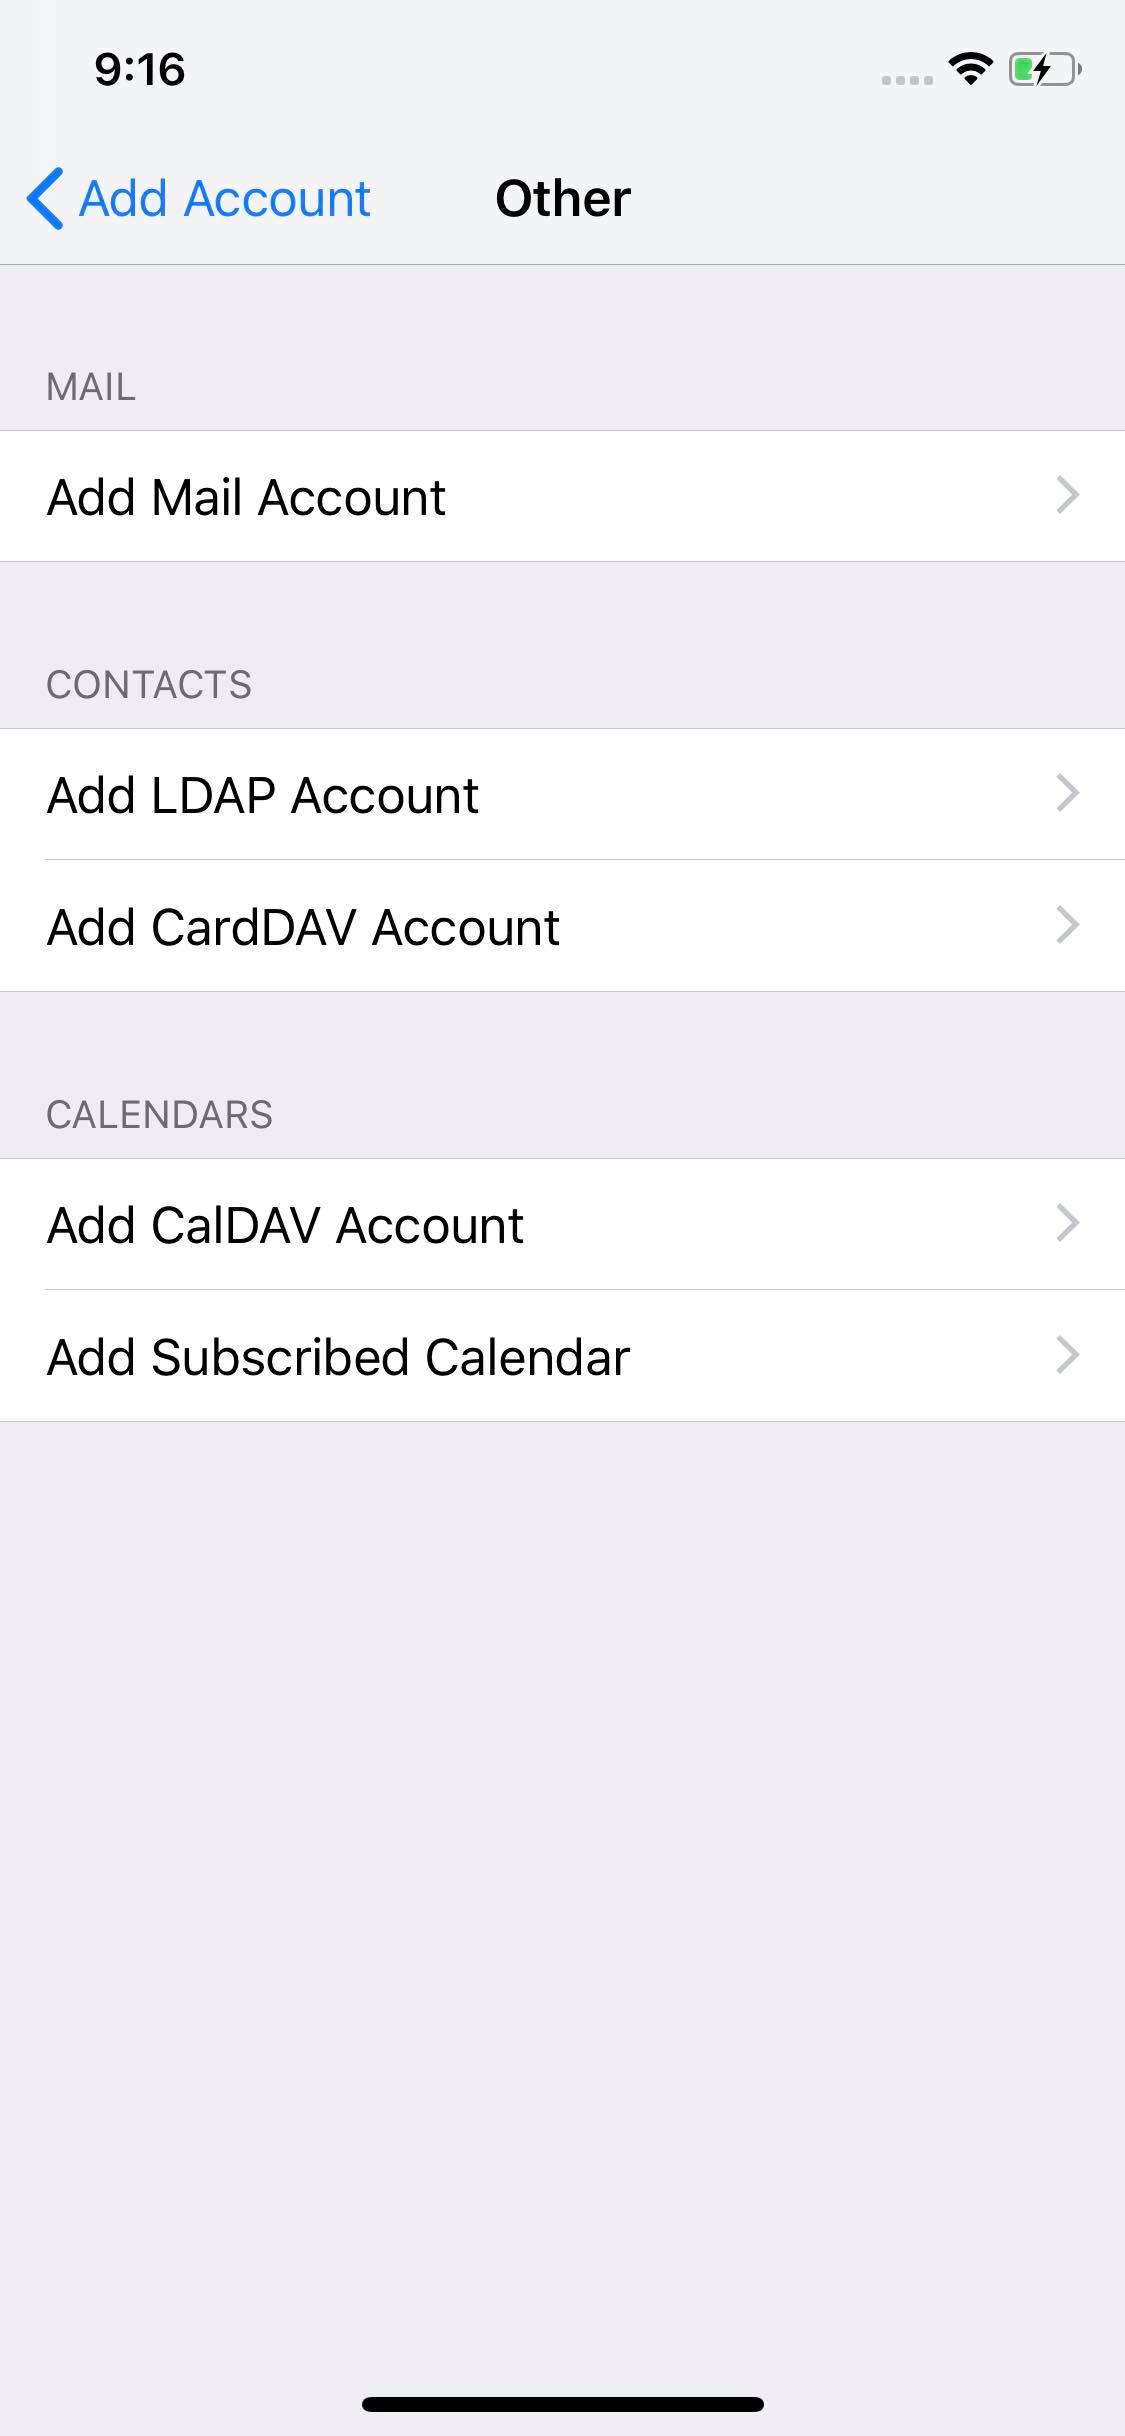
- Select "Other" to view the available account types.
- Choose "Add CalDAV Account".
Step 3
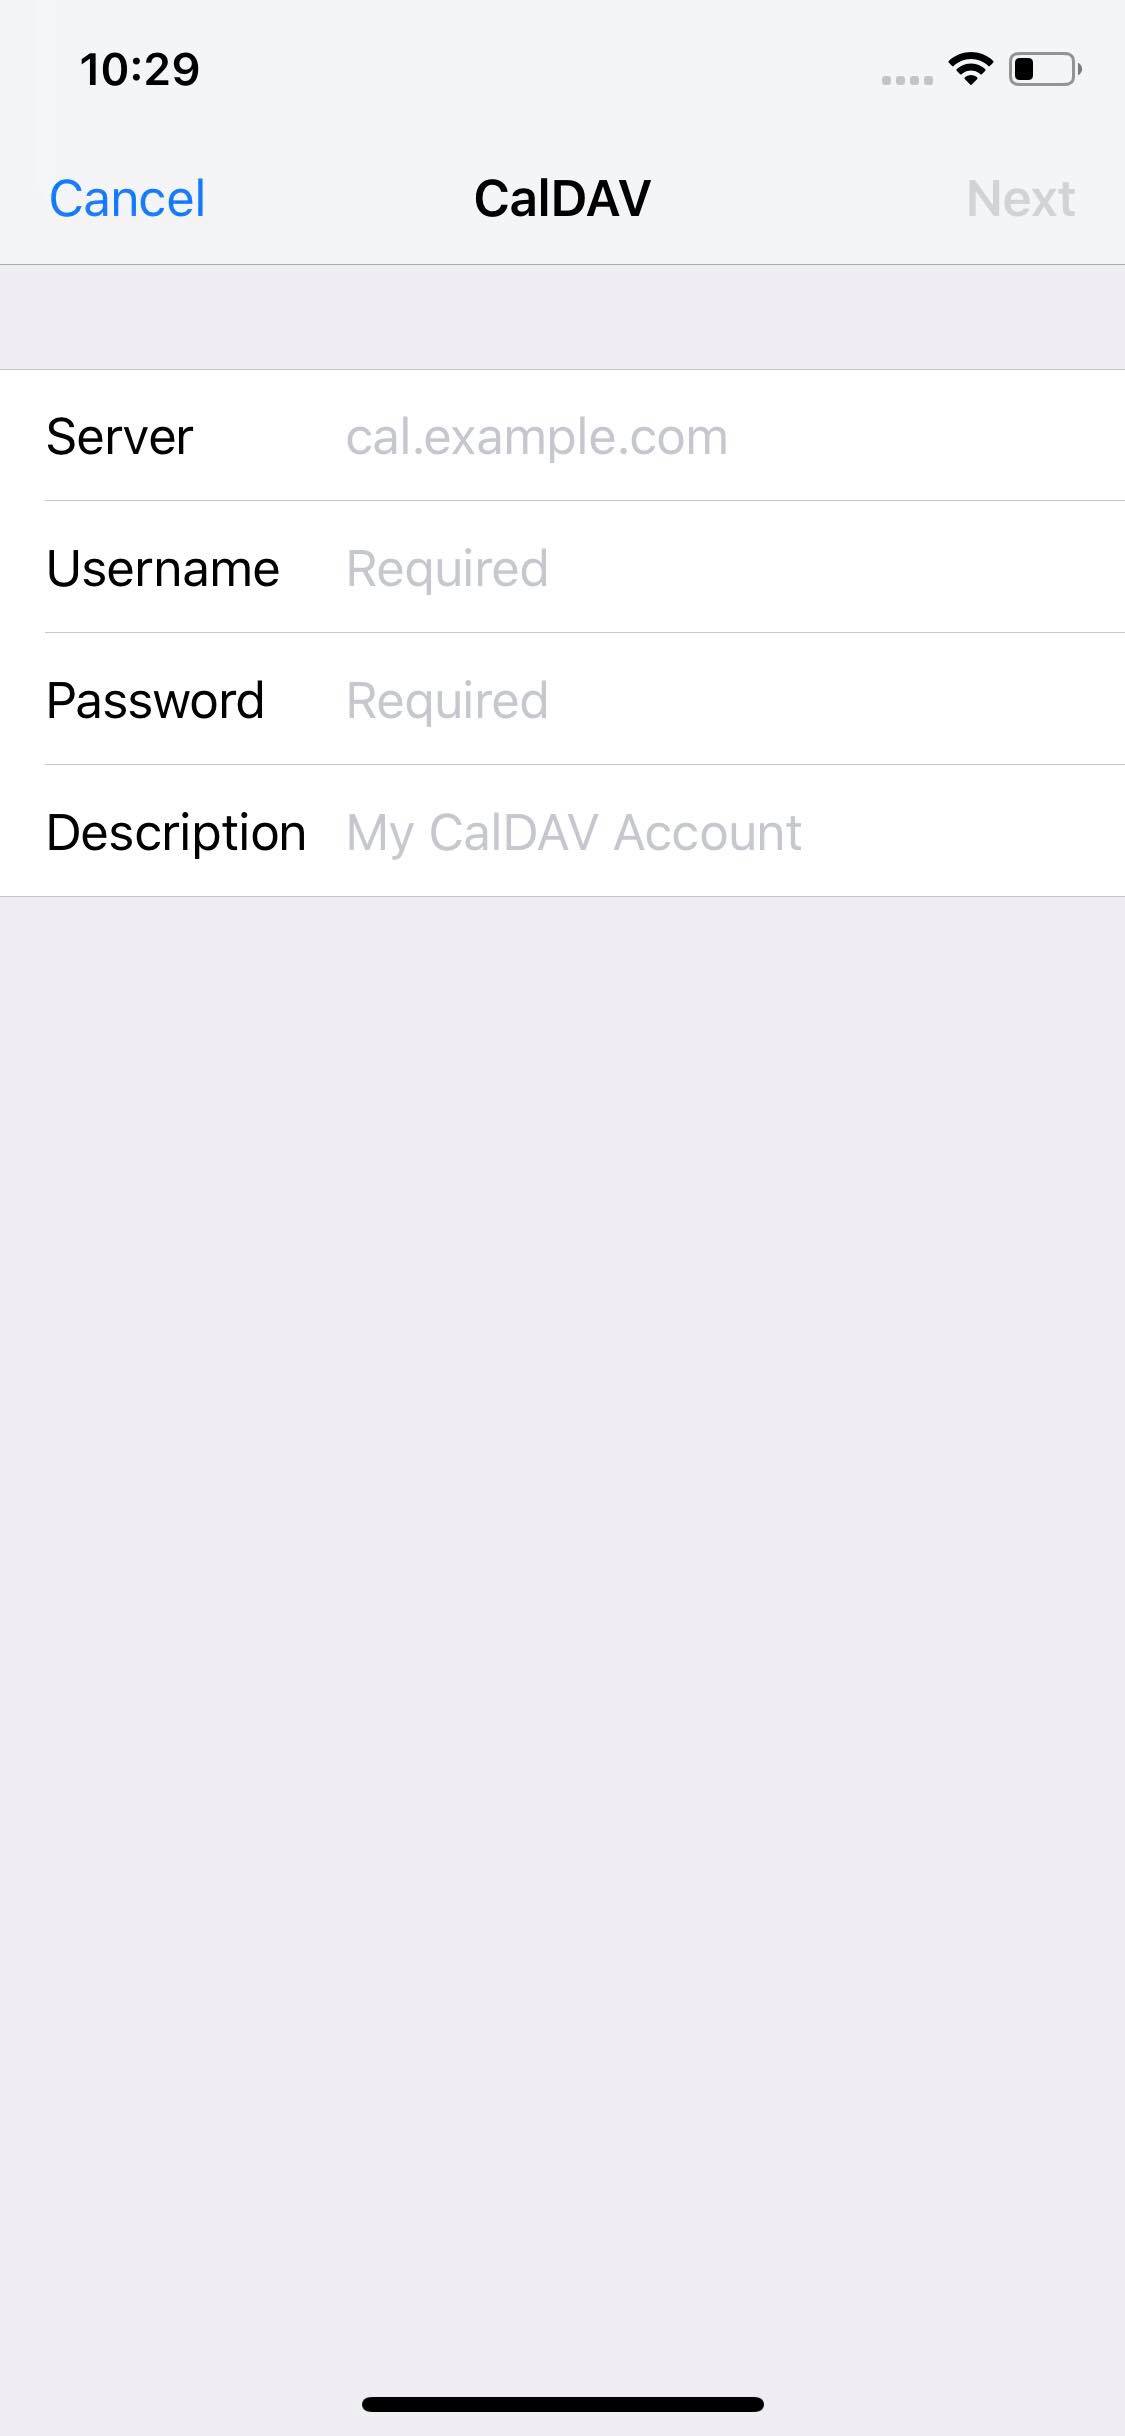
- This will open a form titled "CalDAV".
- Enter the server details of your webmail service.
- This includes the server address of your webmail, your webmail username and password.
- You can also choose to enter a Description for your account, if you would like to better differentiate this account from other calendar accounts on your device.
- Tap "Next" in the top right of your screen.
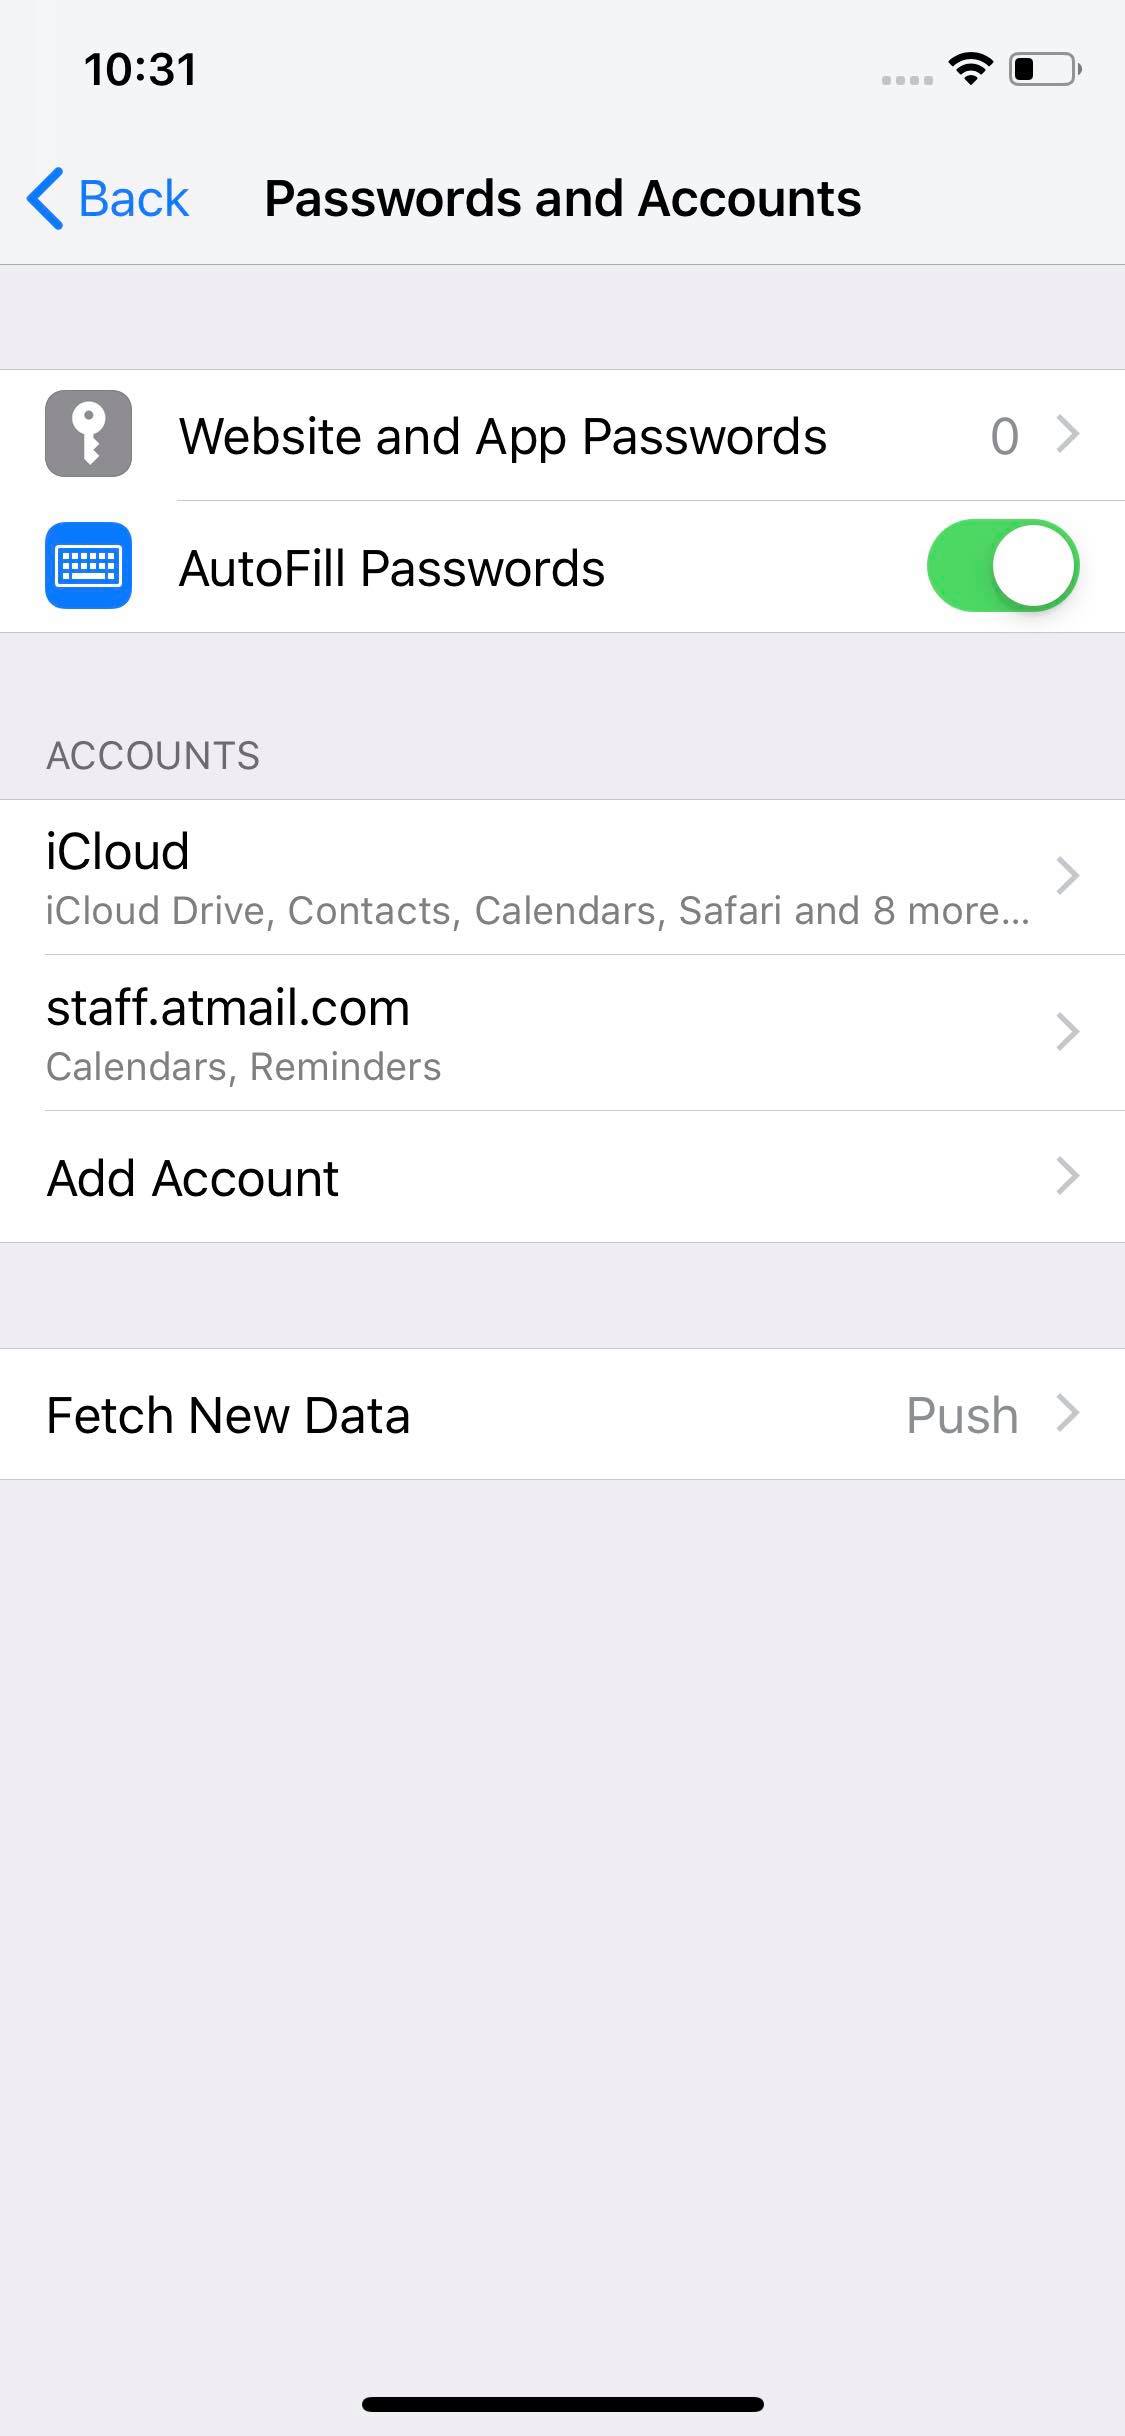
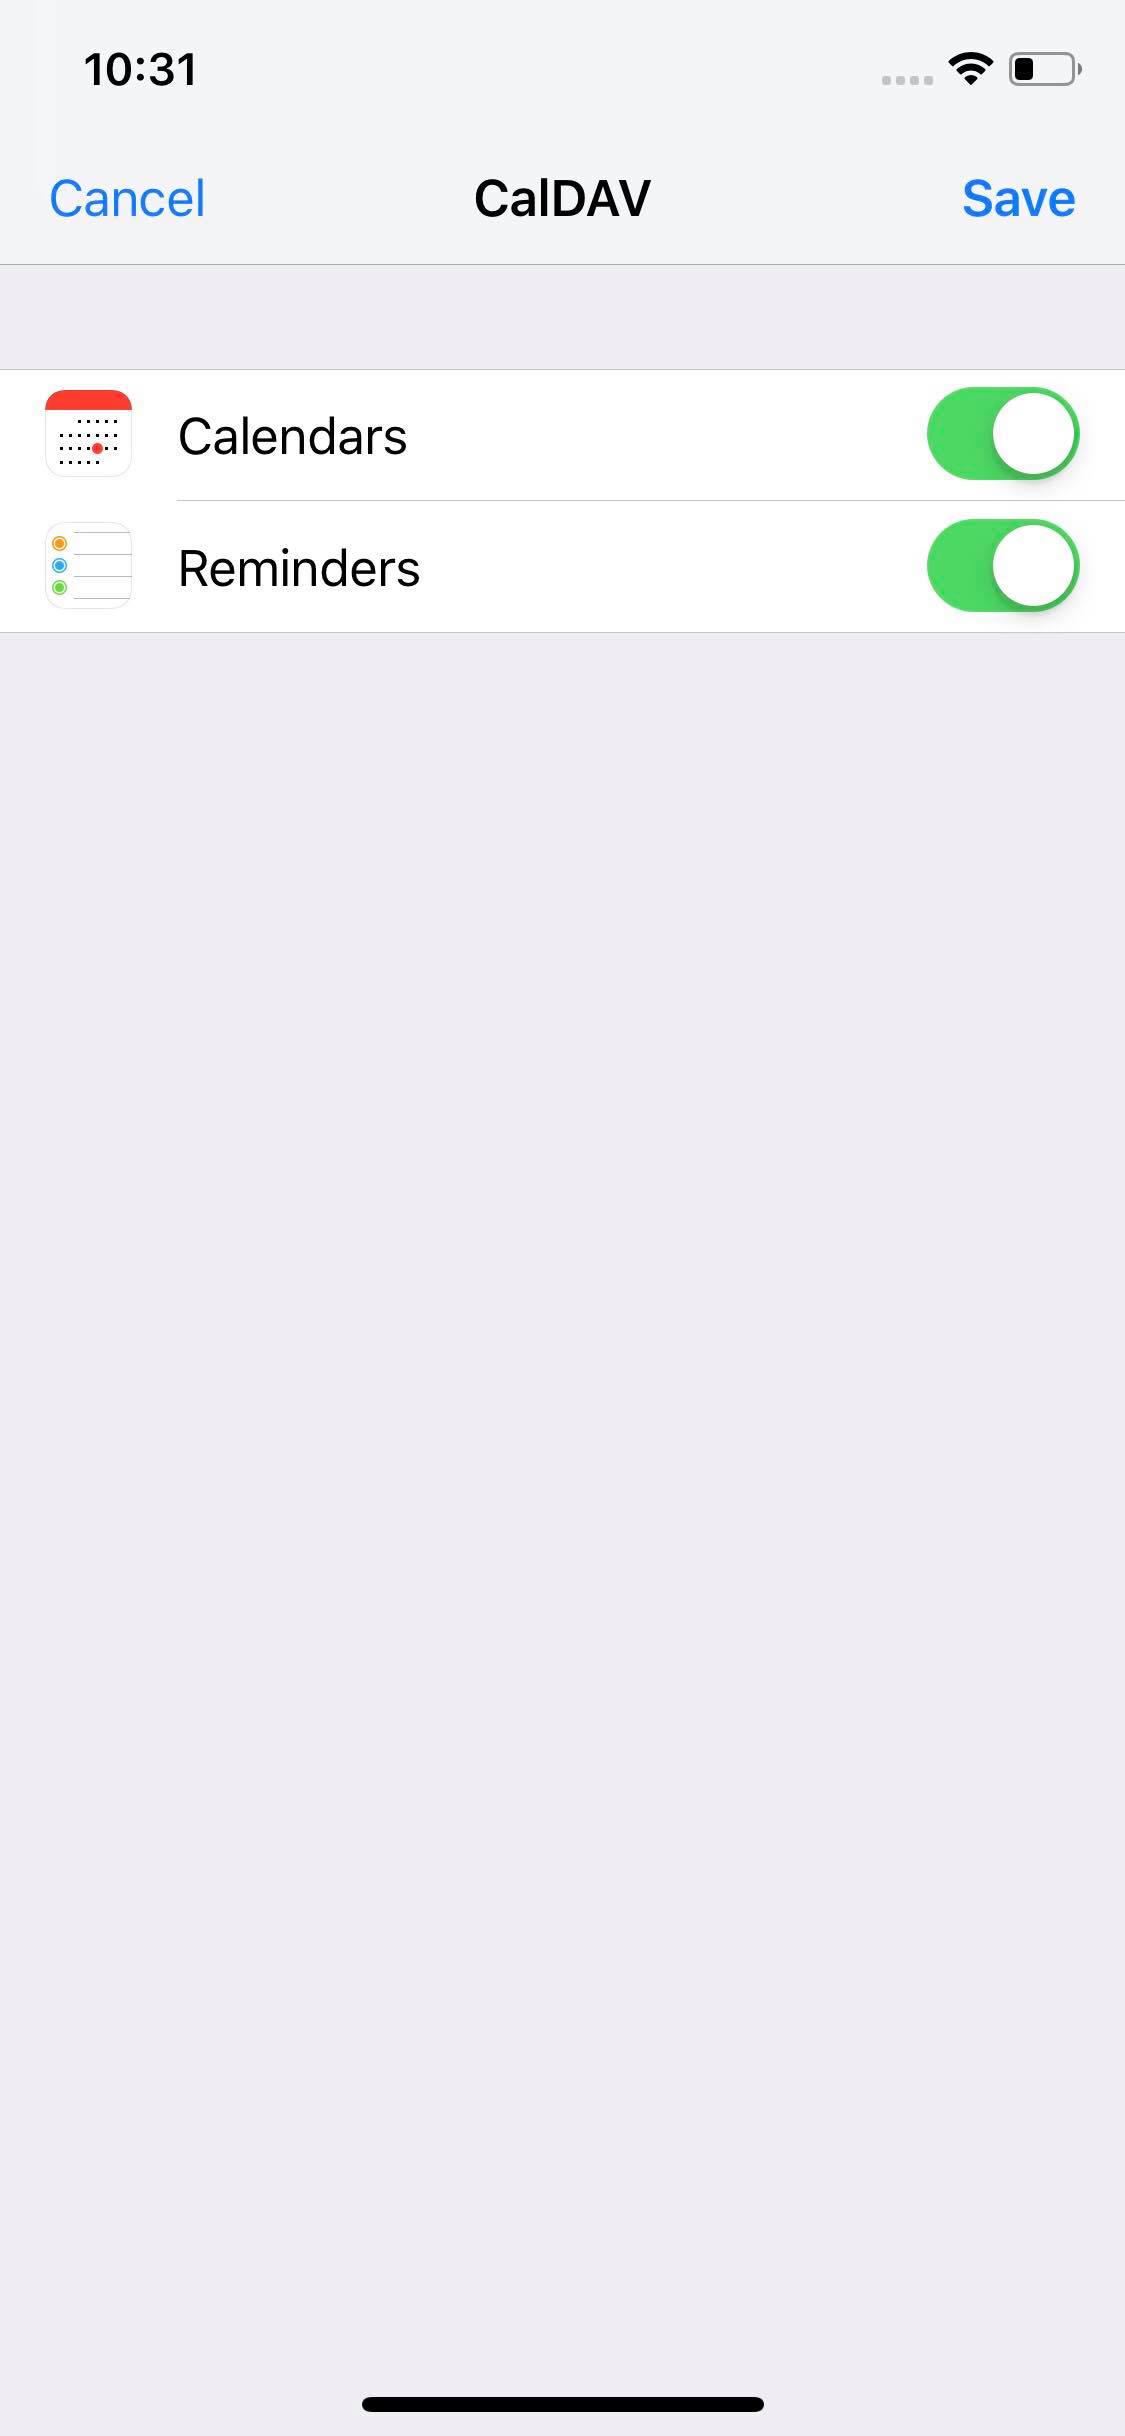
- In the next section, make sure "Calendars" is enabled.
- If you would like your webmail Tasks to automatically synchronise with Apple Reminders, please also enable “Reminders” in the list.
Server:
Server Name: demo.atmail.com
Username: Your Webmail Email
Password: Your Webmail Password
- You can now create, view and edit Calendar events in Apple Calendar for iOS.
- If you also selected the option to use Reminders, you can now also create, view and edit tasks in Apple Reminders for iOS.
- Please note that you can still log in and use webmail to send and receive email from your browser, if/when you choose to.