Configure Mac Calendar
Step 1
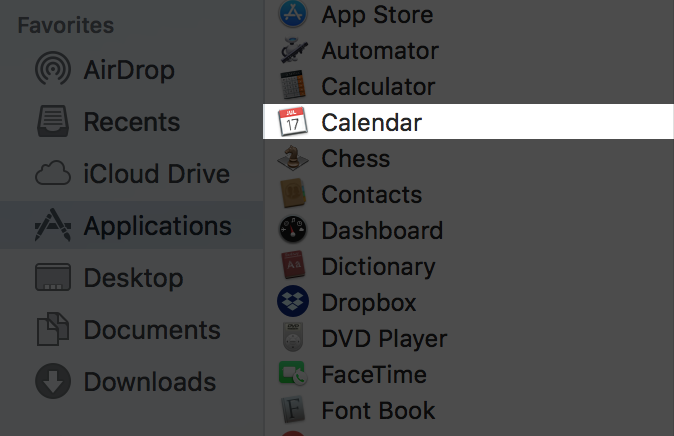
- Open the "Calendar" application on your computer.
- You can do this by navigating to your Applications folder within Finder, and clicking on the application name, Calendar.
- Tip: By default, the Calendar app will also be in your Dock. You can click on the Calendar app icon in the Dock for quicker access.
Step 2
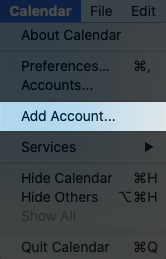
- In the Calendar app, select the menu item on the top of your screen that is titled "Calendar".
- In the drop-down menu that opens, select "Add Account".
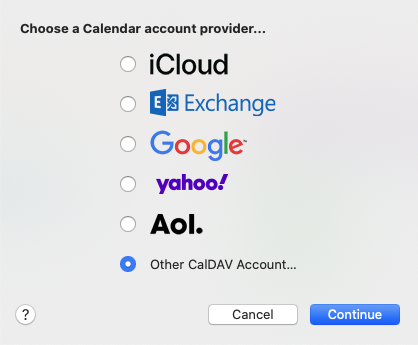
- Then select the option titled "Other CalDAV Account" and click "Continue".
Step 3
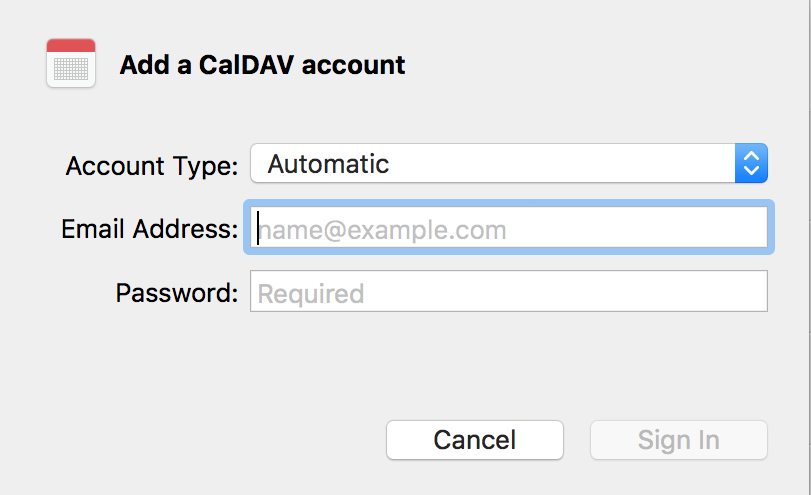
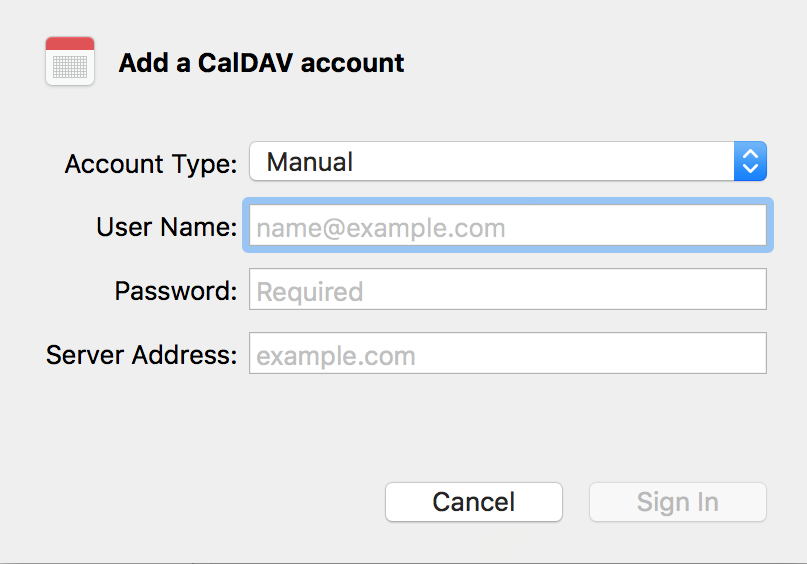
- Enter the email address and password of your email account.
- Make sure that you enter the same email address and password that you would use to log into your webmail normally.
- If you have "Automatic" selected under the drop-down menu, the Calendar app will try to automatically configure your account.
- Occasionally, the Calendar app will not be able to successfully configure your account automatically.
If this occurs, the Calendar app will load a new window for you to manually enter the following server information:
Server Address: demo.atmail.com
Step 4
- Select which services you wish to enable.
- Make sure that "Calendar" is selected.
- If you would like your webmail Tasks to automatically synchronise with Apple Reminders, please also select "Reminders" in the list.
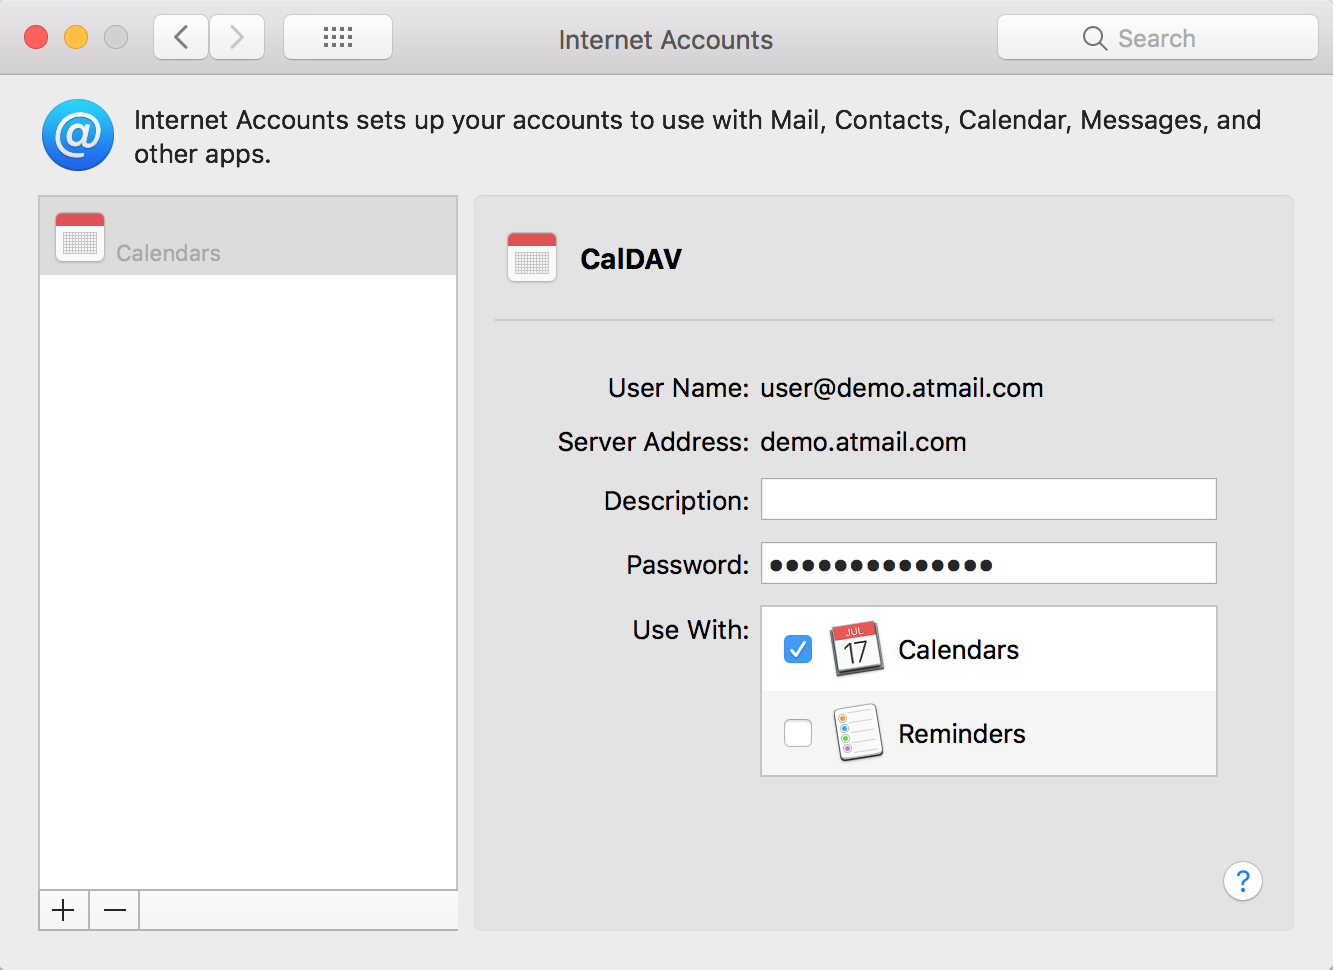
- You can now create, view and edit Calendar events in Apple Calendar.
- If you also selected the option to use Reminders, you can now also create, view and edit tasks in Apple Reminders.
- Please note that you can still log in and use webmail to send and receive email from your browser, if/when you choose to.
